shuttlecraft galileo
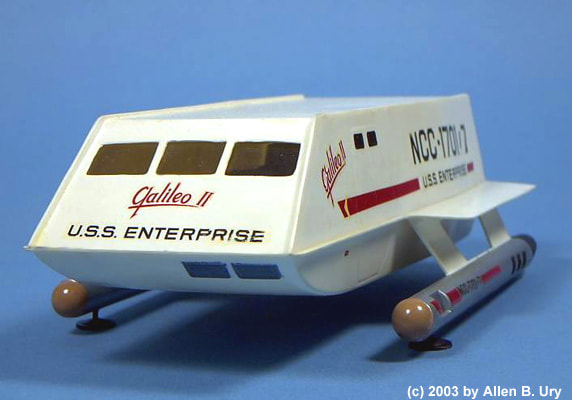
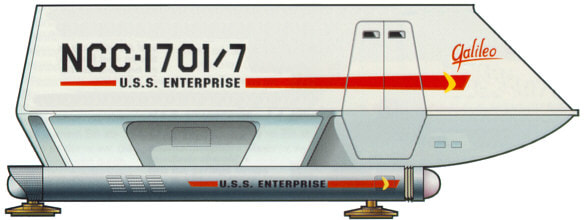
For my first project I decided to do the shuttlecraft galileo from star trek, as its design seemed simple enough to do for a beginner project. It's relatively easy and looks good.
Making the basic model
Making the basic model was pretty simple. It started with just a basic extruded rectangle measuring 3 inches by 1.5 inches. My next course of action was to make the two impulse engines, as seen on the bottom of both the pictures above. I had quite a bit of trouble making the beams to support the engines, so I decided to put it straight into the body, just to make it easier. I then started to create the shape with a mix of filets, extrusions and cuts to then get the more advanced shape.
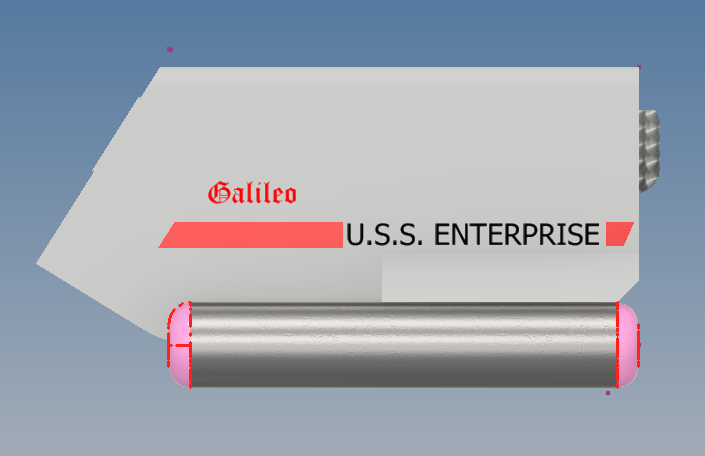
Adding the decals
Now that I had made the shape of the Galileo, it was time to add the decals. This part was relatively simple, just having to add splits, colours, materials, and Texts to add the decals to the Galileo. The hardest part of this was most likely splitting the parts I wanted to colour from the rest of the body. For example, the red stripe on the side of the shuttle. This required making the sketch of the stripe a full shape, then splitting it off from the rest of the body and then individually colouring it.
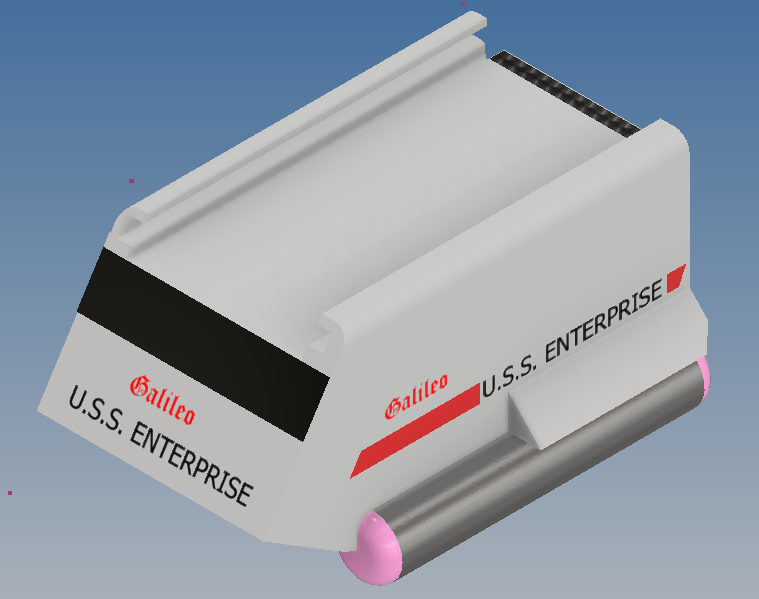
The final product